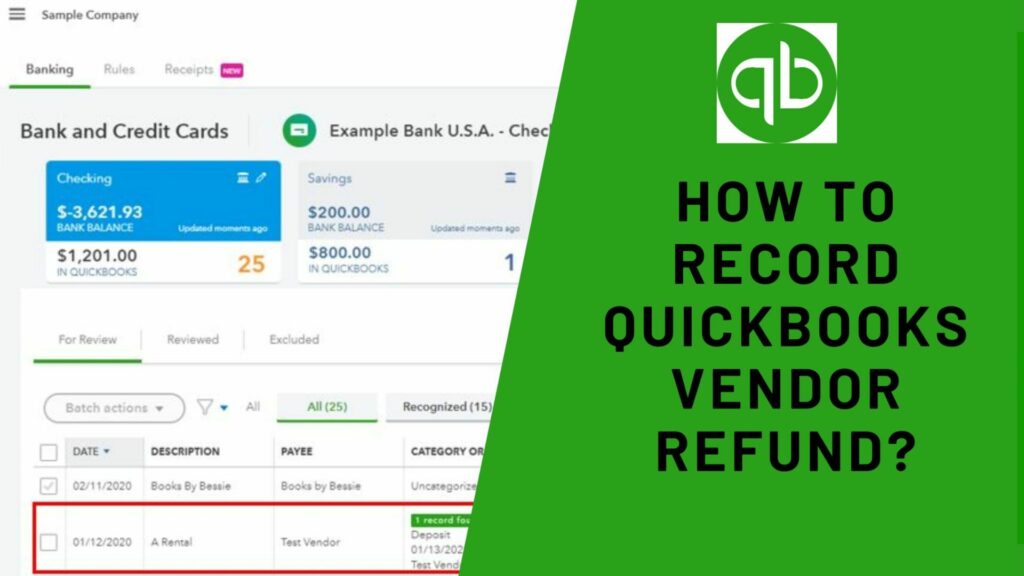
If you own a business then you know it is very important to manage your account properly. Businesses trust QuickBooks software to manage transactions with vendors along with handling vendor refund credits. This helps in maintaining precise account information. To Record QuickBooks Vendor Refund is provided for numerous reasons like when you are accidentally overcharged for an item, product, or service, have unknown discounts, or don’t get a complete order. These things must be done correctly as when you don’t apply for the vendor refund credits then it leads to a discrepancy between the bank records and QuickBooks account records.
Don’t worry, recording a vendor refund is super easy with the use of the financial software QuickBooks. You can adjust vendor refund via cash, check, debit and credit card, or direct bank account. This informative post holds all details on how to receive and record vendor refunds in QuickBooks online application. By the end, you will be able to easily deal with refunds from vendors and handle your expense account efficiently.
How to Record QuickBooks Vendor Refund: Different Scenarios and Methods
You can decide the scenario as per your situation and follow the suggested methods to Record QuickBooks Vendor Refund.
Scenario 1: When the Vendor Gives a Refund Check for the Returned Goods/Items

Recording Vendor’s Check Deposit:
- First of all, reach out to the ‘Banking’ option in QuickBooks and choose ‘Make Deposits.’
- Then, tap on ‘OK’ in the same window.
- Click on ‘Received’ and choose the vendor only who gave you the refund.
- After that, choose ‘Accounts Payable.’
- In the column of ‘Amount’, fill in the exact amount mentioned in the ‘Vendor’ check.
- Now, give the rest of the details inside the ‘Deposit Account.’
- In the end, tap on ‘Save; and exit from the window.
Recording a Bill Credit for those Items that have been Returned:
- Firstly, navigate to ‘Vendor’ and select ‘Enter Bills.’
- Tap on ‘Credit’ for the amount of the goods returned.
- Provide the ‘Vendor name‘ and hit the cursor on the ‘Items.’
- Now, give the list of returned products with the exact amounts mentioned in the refund check.
- At last, tap on ‘Save and Close.’
Also Read: How To Update QuickBooks-Get Latest Tools and Features
Linking the Deposit to the Bill Credit:
- Firstly, navigate to ‘Vendor’ and select Pay Bills.’

- Then, match the ‘Vendor check amount’ with the ‘Deposit.’
- Select ‘Set Credits.’
- Then you need to apply the ‘Bill Credit‘ made previously.
- Tap on ‘Done’ and after that click on ‘Pay Selected Bills.’
- In the end, tap on ‘Done again.
Scenario 2: When You Receive a Refund Check from the Vendor for a Paid bill
Here are steps to record QuickBooks vendor refund:
Recording the Vendor Check Deposit:
- Firstly, reach out to the ‘Make deposits’ option inside the ‘Banking.’
- Navigate to the ‘Make Deposits’ window then tap on ‘Received.’
- Now, pick the ’Vendor‘ who gave you the refund.
- Choose the correct ‘Accounts Payable Account’ from the ‘Account’ tab.
- There, enter the real amount from the vendor check.
- At last, tap on ‘Save and Close.’
Recording a Bill Credit for the Amount Refunded:
- Firstly, navigate to the ‘vendor’ option and choose ‘Enter bills.’
- Then, select the ‘Credit option’ for accounting for the goods returned.
- Provide the ‘Vendor name.’
- Then tap on ‘Expenses.’
- Give the accounts on the actual bill.
- After that inside the ‘Amount column, fill in the right amount for all accounts.

- In the end, tap on ‘Save‘ and exit from the window.
Linking the Deposit to a Bill Credit:
- Firstly, navigate to the ‘vendor’ option and choose ‘Pay bills.’
- Confirm the deposits after matching them exactly with the vendor’s check amount.

- Choose ‘Set credits’ for applying for the bill credit.
- Click on ‘Pay Selected Bills.’
- In the end, hit the cursor on ‘Done.’
Scenario 3: When a Vendor Gives a Refund Check on Behalf of the Real Vendor
Here are the steps for this scenario to Record QuickBooks Vendor Refund:
Make a Deposit for the Vendor who gave the Refund Check:
- First of all, reach out to the ‘Banking’ option in QuickBooks and choose ‘Make Deposits.’
- Then, tap on ‘OK’ in the same window.
- Click on ‘Received’ and choose the vendor only who gave you the refund.
- After that, choose ‘Accounts Payable.’
- In the column of ‘Amount’, fill in the exact amount mentioned in the ‘Vendor’ check.
- Type a ‘Memo, payment method, check number, and class‘ (completely optional).
- In the end, tap on ‘Save’ and close the window.
Making Bill for Deposit Amount and Applying the Same to the Deposit:
- Firstly, navigate to the ‘Vendor’ option and choose ‘Enter bills.’
- Select the ‘Vendor‘ who gave you back the refund.
- After that, type the refined amount there.
- Tap on ‘Expense.’
- Navigate to the ‘Amount option’ and enter the refund amount.
- Tap on ‘Save & Close.’
- Now again reach out to the ‘Vendors’ field and click on ‘Pay Bills.’
- Choose ‘Set credits’ for applying for the bill credit.
- Click on ‘Pay Selected Bills.’

- In the end, hit the cursor on ‘Done.’
Also Read: Simple Steps To Delete/remove Deposit in QuickBooks – Solved Guide
Making a Bill for the Credit Amount that is Impacting the Wash Account. Then Apply the Bill to Credit:
- The foremost step is navigating to ‘Vendor’ and selecting ‘Enter Bills.’
- Select that particular ‘Vendor‘ who gave you the refund.
- Type the refund amount.
- Tap on ‘Expense’ and inside the amount field, pick a ‘Wash account.’
- After that, enter the refund amount once again.
- Tap on ‘Save & Close.’
- Choose the option of ‘Pay Bills’ after tapping on ‘Vendor.’
- Now you have to hit the cursor on ‘Set Credit‘ and select ‘Credit.’
- After that, tap on ‘Pay Selected Bills’ and then hit on ‘Done.’
Scenario 4: When a Vendor Gives You a Refund Check Which is Not Associated with an Existing Bill
Here are the steps to record QuickBooks vendor refund:
Recording a Vendor’s Check Deposit
- Tap on ‘Make Deposits’ after navigating to the ‘Banking‘ tab.
- After that, hit the cursor on ‘Make Deposits’ first and then on ‘Received.’
- Now, choose the ‘Vendor‘ who has returned the refund.
- Choose an Accounts Payable account.

- Navigate to the ‘Amount’ field and fill in the real amount exactly like the ‘Vendor‘ check.
- Now, provide the rest of the details in the ‘Deposit‘.
- Tap on ‘Save & Close.
Recording a Bill Credit for the amount of the Vendor Check
- Proceed to the field ‘Vendors’ and choose ‘Enter Bills.’
- Select the ‘Credit option’ for accounting for the goods returned.
- Provide the ‘Vendor’ name.
- After that, tap on ‘Expenses’ and give ‘Accounts‘ for refunds.
- In the column of ‘Account’, fill in the amount for every ‘Account.’
- In the end, hit on ‘Save and Close.’
Linking the Deposit to the Bill Credit
- First of all, choose ‘Pay Bills’ after navigating to the vendor’s field.

- Then, match the ‘Vendor check amount’ with the ‘Deposit.’
- Select ‘Set Credits.’
- Then you need to apply the ‘Bill Credit‘ created earlier.
- Hit the cursor on ‘Pay Selected Bills.’
- In the end, click ‘Done.’
Scenario 5: When the Vendor Gives You a Refund as a Credit Card Credit
Sometimes, users ask how do I apply a refund check to credit in QuickBooks online. Well, it is easy. The steps are:
- First of all, navigate to the ‘Banking’ field, and choose ‘Enter Credit Card Charges.’
- Now, select ‘Credit card account’ after going to the Credit Card option.
- After that, tap on the ‘Refund/Credit’ button.
- Now, you need to select the right ‘Vendor name‘ and fill in the details like Date, Reference Number, ‘And amount.’
- Then, enter a ‘Memo’ describing the transaction.
- Tap on ‘Item’ and give the details of the Items/products refunded ‘Amounts.’ (This step is to be performed when you have the returned products/items.)
- If you have no Items for the refunds then tap on ‘Expenses’ and choose ‘Appropriate Accounts’ and after that ‘Enter the Amount‘.
- In the end, hit ‘Save & Close.’
Also Read: QuickBooks Database Server Manager Explained
Conclusion
At last, in this article, we gave the answer to one of the most asked questions related to QuickBooks, how to Record QuickBooks Vendor Refund. These are the most reliable methods through which you can record QuickBooks Vendor Refunds. We truly believe that these steps would make the process simpler. However, if you find yourself in trouble while following any of the methods then it is best to communicate with QuickBooks Customer Support for more guidance. The team is available all time and all days to help you out with any QuickBooks-related issue. With this, it is time to say goodbye but we would eagerly wait for you to write to us via email or in the comments section below.
Frequently Asked Questions
Q1. Is a refund from a vendor income?
It should not be treated as an income as it will reduce your business expenses. So even though the money is credited into your account in a refund from a vendor, you should not consider it as an income that will increase your overall profit amount of the business.
Q2. How should a refund be categorized in QuickBooks?
- Select the Banking option and then click on the For Review button.
- Navigate and choose the refund amount.
- Tap on Categorize and choose the account that you created earlier then press Add.
Q3. How do I refund an unapplied payment in QuickBooks online?
- From the New icon, select Receive Payment.
- Fill in the required information from Outstanding Transactions, and click on Cheque you created.
- Now, tap on Unapplied Payment under Credits.
- Ensure that the Amount Received is Zero.

