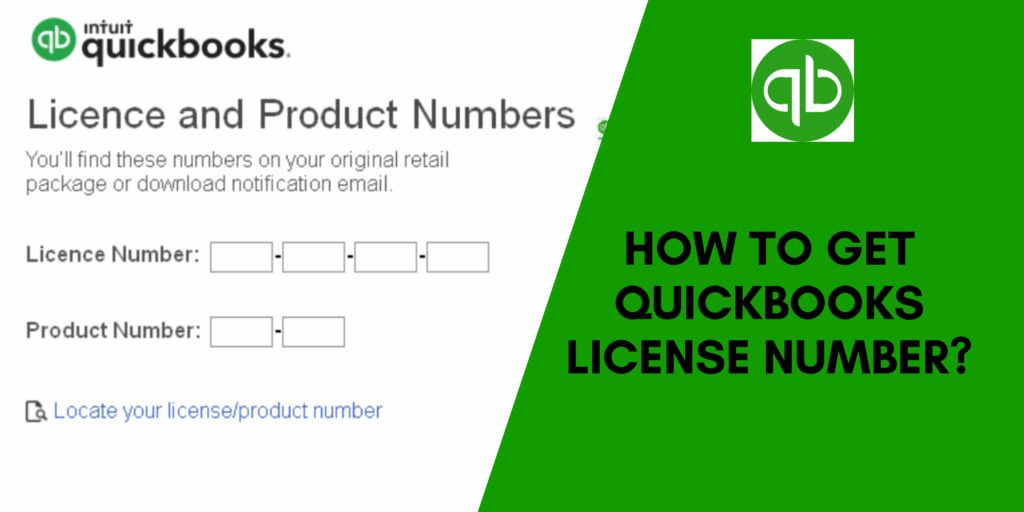
If you want to install QuickBooks on your system then the first thing that you must have is the license key and product number. To properly install or reinstall this financial software, you need to keep these numbers ready as you need to enter these special codes during the installation. It is an important part to complete the validation step for any software.
Finding Quickbooks License Number and Product Number is a must to reinstall this financial software and keep all records as well as operations when you upgrade it to a new system. So, try to note it somewhere when you install Quickbooks before starting the installation. In case you enter these special codes incorrectly then you can be in serious trouble.
If you have somehow lost these unique codes then you won’t be able to use the software even after installing or updating it. Don’t worry, we are here to save you as this informative post tells you the easiest way to find Quickbooks License Number.
Where to Find QuickBooks License Number?
Are you wondering how to find license number in QuickBooks? Well, in order to find out the license number QuickBooks, the major thing is to note how your software was bought. Also, if you are registered with the software company or not. You can find the license number in four ways:
QuickBooks Packaging: In case, you have bought the software’s physical copy then you can get the numbers on its packaging itself. There is a sticker on the packaging that contains the product and license key.

Confirmation Email: If you have bought QuickBooks online through Intuit’s website, you will get the numbers on your registered email (That you used at the purchasing time.)
Installation Disc: Here, you have to first put the installation CD in the system having QuickBooks Desktop. After that select “Reinstall QuickBooks.” Now, your screen will flash a window containing the product and license number.
Quickbooks License Lookup: First of all, open the web page of Intuit License Lookup and fill in your credentials (username and password) to get the numbers.
How to Find QuickBooks License Number in Registry: Easy Steps

Want to know the QuickBooks license and product number free? Here is how you can do this. Users think that it is a complicated task to find the license number but it’s not. With the following steps, you can easily get these unique codes. Have a look:
- First of all, open QuickBooks.
- Hold “F2.”
- Now, you will see the window of “Product Registration”, after this, you have to hold “F3.”
- This action will immediately redirect you to the page “Tech Help.”
- Reach out to “Open File” and tap on the QBRegistration.dat file.
- If this file fails to open automatically, navigate to “List of Programs” and tap on “Notepad” then hit “OK.”
- Hold “Ctrl + F” and write “LicenseNumber” in the vacant box.
- Now, tap on “Find” after which the text will get highlighted.
- After performing the above step, you will find the product license number just beside the highlighted text.
- Note down the validation code/license number anywhere and exit from the file.
- In the end, re-register the software using your license number.
Now, you have successfully learned how to find the QuickBooks license number and product number, it’s time to know how to add Quickbooks Product Number. This is how to find my QuickBooks license number.
Steps to Add Quickbooks Product Number
After understanding how to find license numbers in Quickbooks, you need to know the way to add them to the software. The steps are:
- Firstly, open QuickBooks.
- Press “F2” and after that access the “Product Information Window.”

Here, you should see your status as Activated. If, your application is not activated, follow these steps:
- Tap on “OK” when you see the “NOT ACTIVATED” status and exit from the window.
- Then tap on “Help.”
- Navigate to “Activate QuickBooks.”
- After that, carry out the instructions popping on your screen.
You can successfully finish the activation process once you verify all the details. In the end, enter the QuickBooks License Number. (See the Image Below)
Steps to Learn the Pricing Details for Adding Extra Users
- First of all, open QuickBooks.
- Reach out to “Help.”
- After that, choose “Manage My License.”

- Now tap on “Buy Additional User Licenses.”
- Then, tap on “Add Seats Online Link” to learn the latest pricing.
Now, follow these steps (below) to purchase additional user licenses
- Firstly, open QuickBooks and reach out to “Help.”
- After that, choose “Manage My License Option” and then tap on “Buy Additional User License.”
- Now, install QBs desktop on other computers according to the number of licenses you have bought.
- Then, you need to use a similar license number (codes) for installing the software.
- In the end, carry out the instructions coming on the screen to activate your software.
Also Read: Easy Steps To Delete Deposit in QuickBooks – Complete Guide
Methods to Change/Update QuickBooks Product and License Number

There are instances when users want to change the Quickbooks product number without reinstalling the application. Well, you can easily change the product information with just a few steps. Here is the procedure to change QuickBooks license number.
Method 1: Opening the Files Via QuickBooks
- Hold “F2 + F3” to open the “Tech Help” window.
- After that, tap on “QBREGISTRATION.DAT.”
- Now, click on “Open File.”
- Create a backup of your “Qbregistration.dat” file.
- Save it on your system.
- Inside the “Tech Help”, tap on “Open the file.”
- Then, close “QuickBooks” and open the “qbregistratio.dat file” anywhere on the system.
Method 2: Opening the File Via Windows Explorer

- Open QuickBooks files.
- Visit C: Program data Common Files Intuit QuickBooks.
- Then tap on the “qbregistration.dat” file.
- Access it via “Notepad”.
- After that, create a backup for the “qbregistration.dat” file.
- Now, save it on the desktop.
- At last, access a similar file via the common file window.
Method 3: Editing the Qbregistration.dat File
- Initially, check the version of the software for which you have to change/edit the license number.
- The next step is to replace “InstallIDcorrect Product Code”. You need to follow the format of “XXX-XXX” and add the brackets.
- After that replace the “license number” and add the correct number.

- Now, save the file.
- Restart your device.
- After doing that, launch QBs Desktop.
- In the end, open the window of “Product information” by pressing the “F2” button.

After performing the steps mentioned above, you will successfully change the product and license number.
Also Read: How To Update Quickbooks(Get Latest Tools and Features)
Conclusion
We truly hope that after going through this informative post, you were able to find all related details on QuickBooks License Number, QuickBooks license and product number, pricing, Quickbooks license lookup, and many more. The steps mentioned here are simple to understand but on the off chance, you face any trouble then contact Quickbooks Customer Support. You can contact the team any day and anytime to resolve your query. The professionals are present 24*7 to assist you with the best possible guidance.
With this, it is time to say bye but we are waiting for you to share your valuable opinions and tips in the comments section to help us as well as other readers.
Frequently Asked Questions (FAQs)
Q1. How many digits is a QuickBooks license number?
At the time of reinstalling the accounting program, you need a QBs License Number. It consists of 15 digits.
Q2. Can you transfer a QBs License from one computer to another?
Yes, you can transfer but before starting you need to first find your QBs license number and product number.
Q3. Where is the settings option in QuickBooks Desktop?
- Go to the QuickBooks homepage, and choose the Gear icon.
- Lastly, select Accounts and Settings.
Q4. How many digits is a QuickBooks license number?
A QuickBooks license number is a 15 digits number. If you are not able to find your QuickBooks license number then you can use the steps given below to do so.

